Epson printer not accepting compatible cartridges?
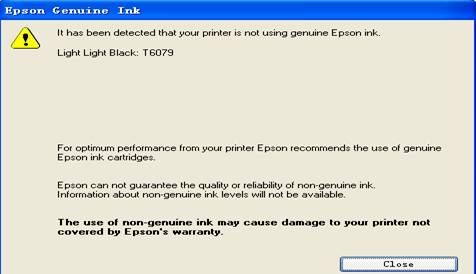
In most cases, there will be absolutely no issues when changing the ink cartridge in an Epson printer. If using genuine Epson cartridges, you can usually install a new one and start printing again within minutes. However, if you use compatible cartridges, sometimes the Epson print utility may display error messages warning that the cartridge is not authentic and may not work properly. Not all is lost – you can still use the compatible cartridge by simply disabling the warning messages in the print utility.
Remove the compatible cartridge you have just inserted and receiving messages about, and then reinsert it in the cartridge cradle. Close the cover and wait a few seconds for the printer to charge the cartridges.
Open a Windows application and attempt to print a document from it. If the warning message was a result of a loose cartridge or one not inserted properly, then document should print normally.
If not, then right-click an open area on the Start screen, and then click the “All Apps” icon in the lower left corner. Click the link for the “Epson Status Monitor” or “Epson Print Utility.”
Click the “Maintenance” tab in the Epson print application. Click the “Speed and Progress” button.
Click the check box next to the “Disable EPSON Status Monitor” option to place a check mark inside it. Click the “OK” button, and then close the Epson print application.
Open a Windows application and print a document from it.
The Epson Status Monitor now no longer displays warning messages and prints the document normally.